How to set up a Git account for the AtScale Developer Edition

Overview:
To use the new Developer Edition of AtScale, you must have a Git account and ID. A Git account will store all the work and push and pull information to and from Git. This article will focus on how to create and set up a Git account and ID if you do not already have one.
Prerequisite:
Assume you have installed the Developer Edition of AtScale.
Set-Up:
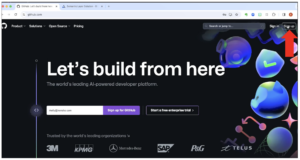
To set up a free Git account, go to github.com. At the top right of the page, you’ll see Sign in and Sign up.
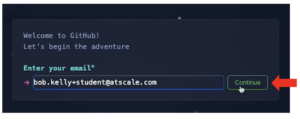
- Click Sign up. The sign-up panel will open up.
- Enter an email address and click Continue.
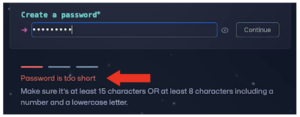
- Create a secure password.
Note: There are two options for your password.- It must be either at least 15 characters long, or
- at least 8 characters long, with at least one number and one lowercase letter
The indicator below the password box will tell you if your chosen password does not meet these criteria.
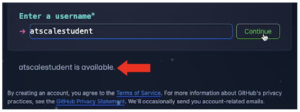
- Now enter a unique username and click Continue.
Note: GitHub will confirm if your chosen username is available or has already been taken by another user.
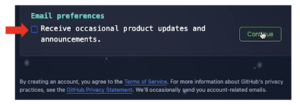
- Check the email preferences box if you want to receive occasional emails from GitHub on product updates and other announcements. Click Continue.
Note: When you create an account it is assumed that you agree to the Terms of Service. You can click on the links in the small print at the bottom of the page to view the Terms of Service and GitHub’s Privacy Policy.
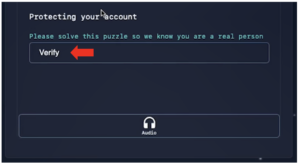
- You will now be asked to complete a verification test to protect your account. Click Verify.
Note: You can also click the Audio button for extra support
- You will now have to solve a simple puzzle to verify that you are a human. Complete the puzzle according to the instructions and click Submit.
- Once you have been verified, click Create account.
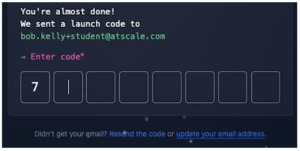
- An 8-digit numerical launch code will now be sent to your email address. Copy this code from your email and enter it on the Github screen. You can copy and paste the number into the number field in one go.
Note: If you don’t receive the launch code email, click Resend the code or update your email address.
- A Welcome screen will now open. In the box on the right of the screen, select the number of people who will use the account.
- Select whether you are a student or teacher, or if this option is not applicable (N/A).
- Click Continue.

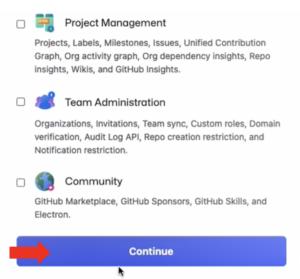
- In the next screen, personalize your account by selecting any additional tools and features you are interested in using.

- Scroll to the bottom of the menu of options and click Continue.
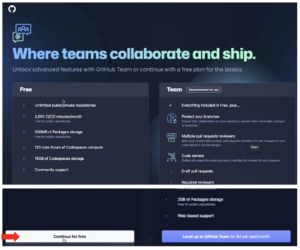
- You will now see a breakdown of both the Free version of GitHub and the Team version, with the specific features included with each.
- Scroll down and click Continue for free.
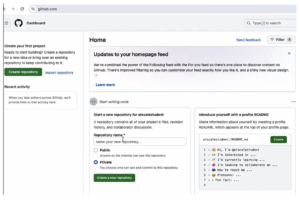
- You will be taken straight to your new GitHub dashboard. You have now successfully set up a Git account that you can use to work with the new version of AtScale.